A new procedure for naming your recordings has been implemented in newer versions of GP4.
This change comes as a result of a system enhancement that allows you to start recording meetings more expediently.
Now when you click the recording button you will start recording the meeting immediately without having to stop and name it first.
Instructions for two methods of naming your recordings appear below.
Naming the Recording at the Start of the Recording
- Start hosing a meeting.
- Left-click on the small Options triangle in the lower right corner of the Recording button to display the recording options menu.
 |
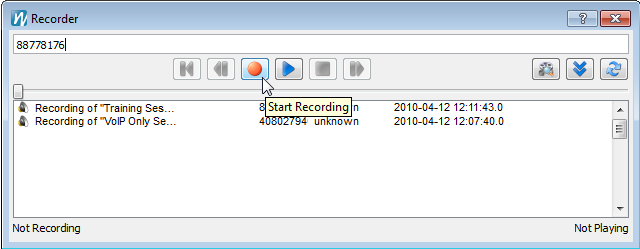
The Recording button from GP4
(Options triangle circled) |
- Select the Open recording Dialog... menu item.

- Click the red Record button on the Recorder dialog.
- Enter the new name in the Recording Info dialog (optionally add a description).

- Click the Save button to start recording the meeting with the new name.
Naming the Recording After the Recording is Completed
- Start hosting a meeting.
- Left-click the Recording button to start the recording (without being prompted).
- Present the meeting as normal while recording it.
- Left-click the Recording button again to stop the recording at the end of the material you wish to record.
- Once you have disconnected everyone from the meeting, click the Cycle button on GP4 two times to display the list of My Recordings on GP4.
 |
| The Cycle button from GP4 |
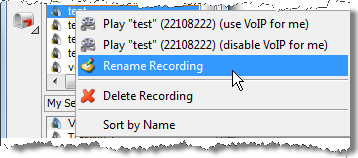
- Right-click on the recording you wish to re-name and select the Rename option from the menu.
- Enter the new name in the Recording Info dialog (optionally add a description).
- Click the Save button to save the recording with the new name.